My Tiny Plot
Menu
Home
About Me
Categories
Flowers
Growing Fruit
Vegetables
Recipes
Seed Saving
Christmas & Holidays
Memories
Archive
Advertise
Carson & Co Jewelry
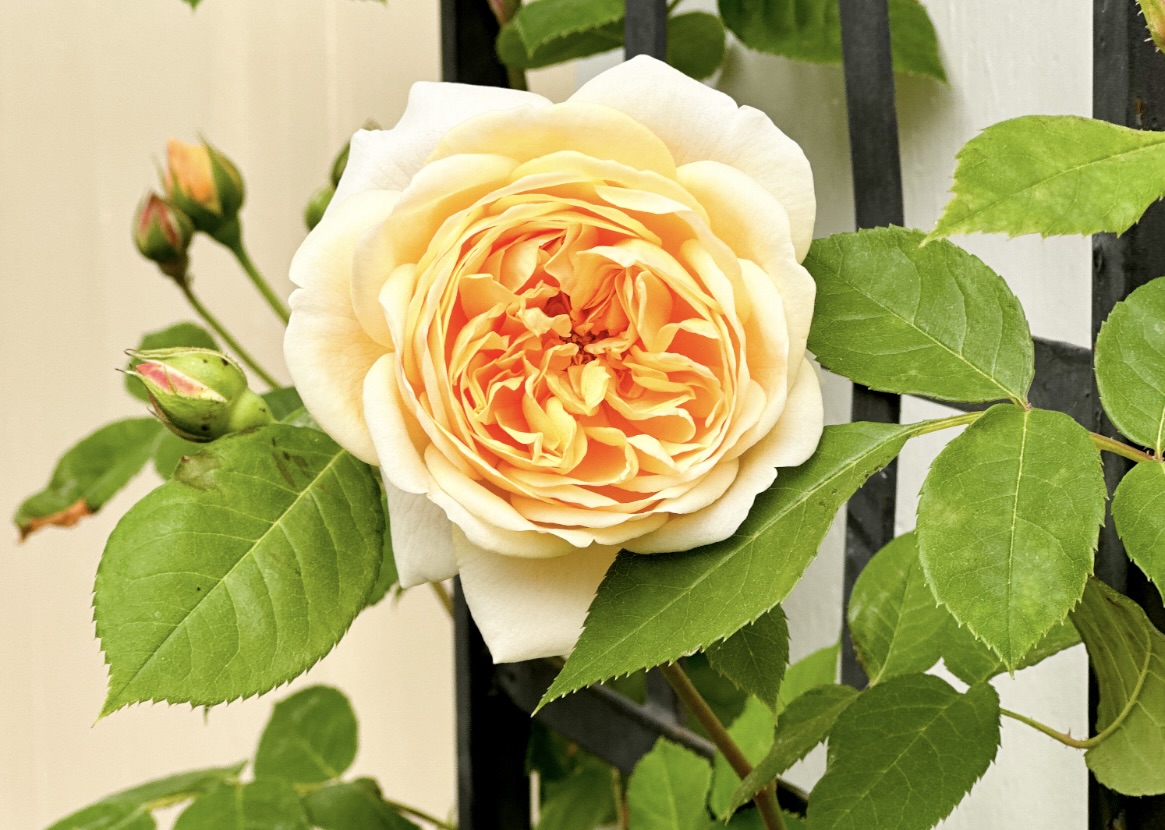
Cloud Pruning A Climbing Rose
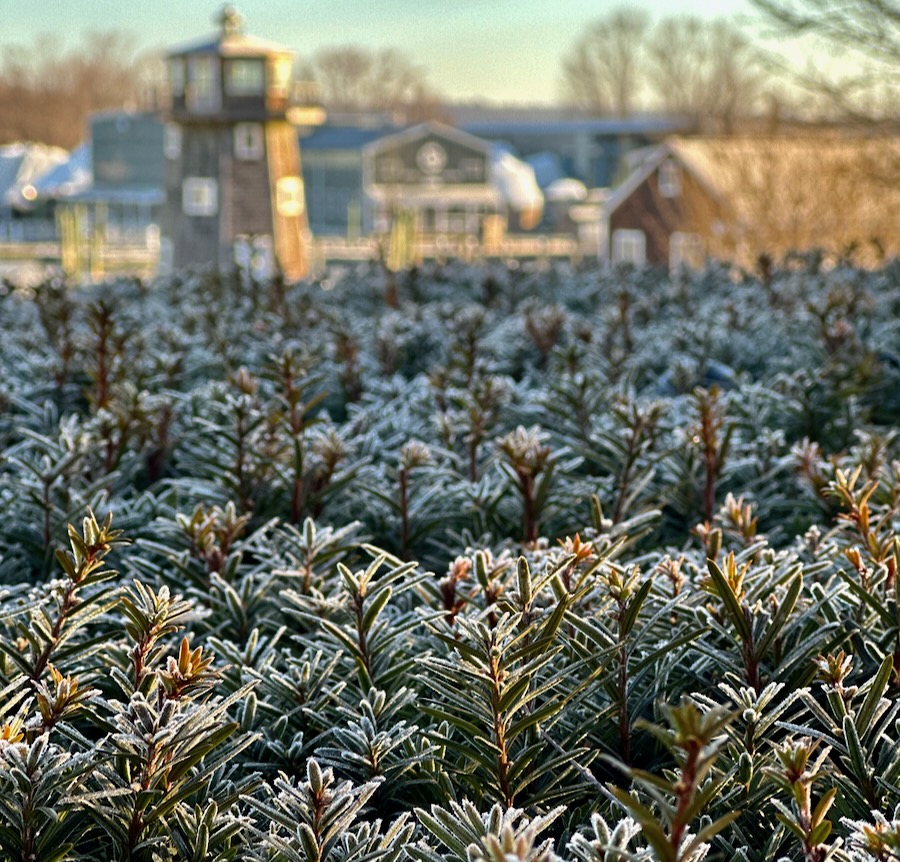
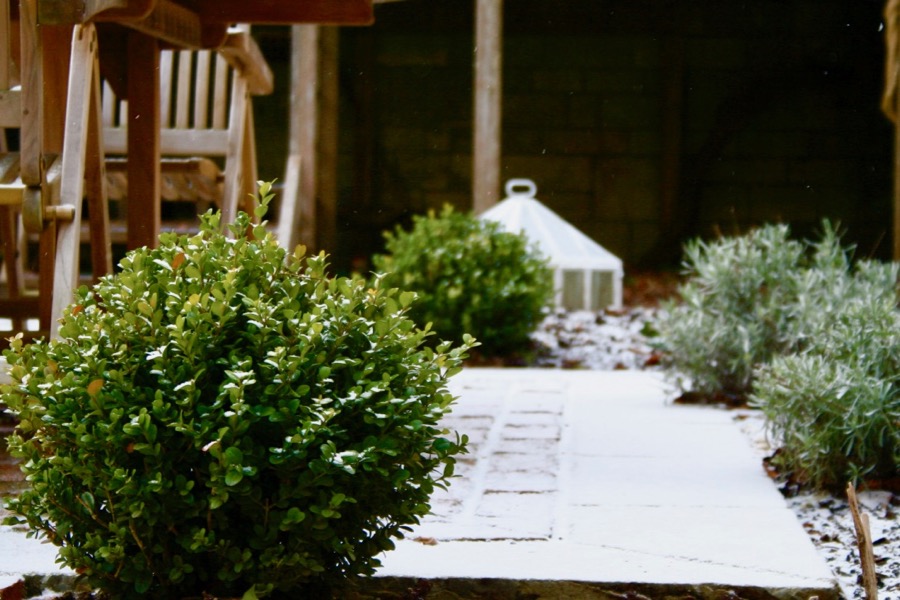
Why Frost Can be Good for Plants
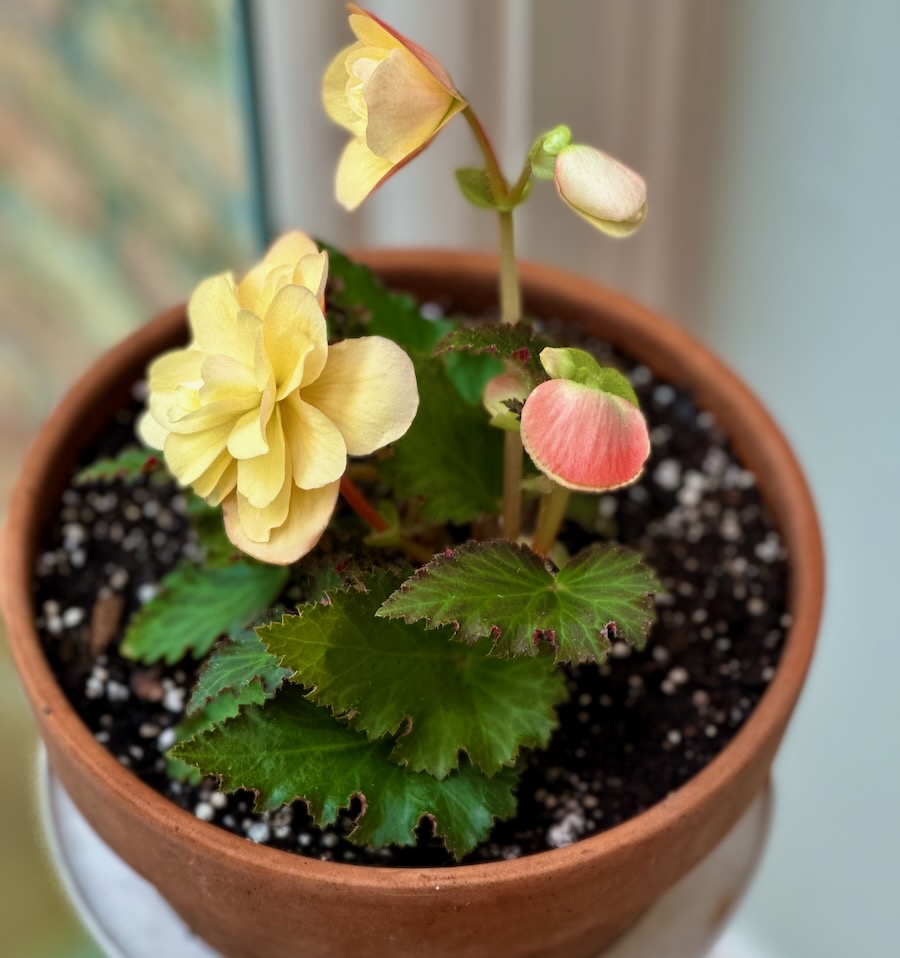
How to Grow Begonias
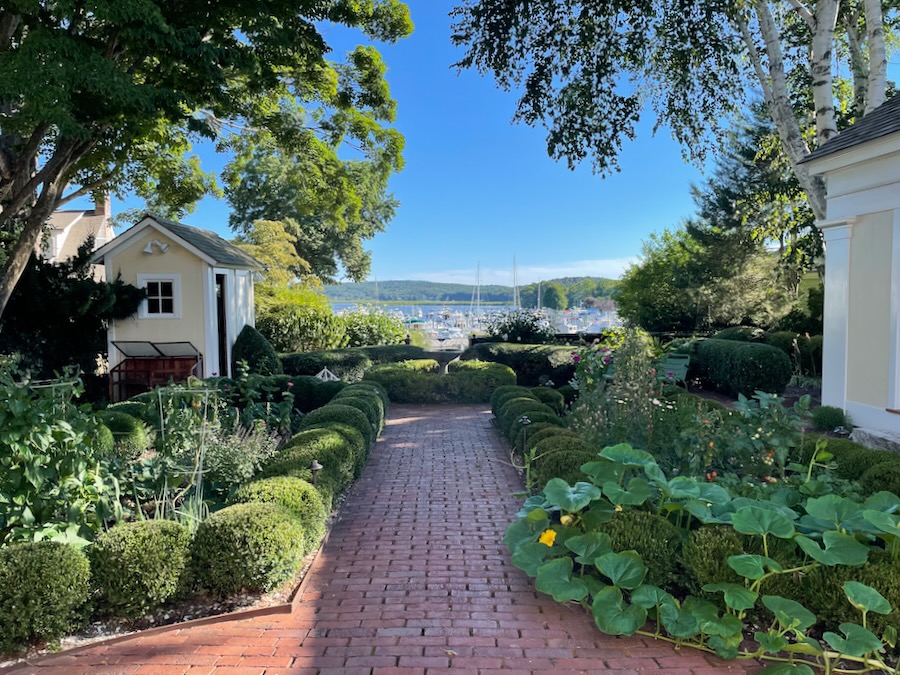
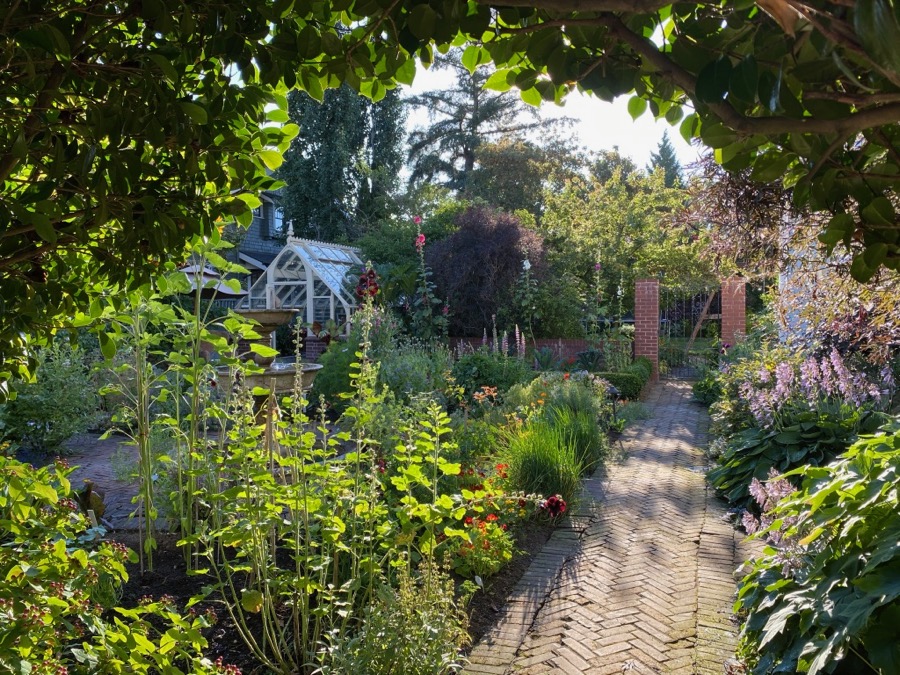
My Connecticut Garden
As a Gardener, I Plan…
The Summer Jungle
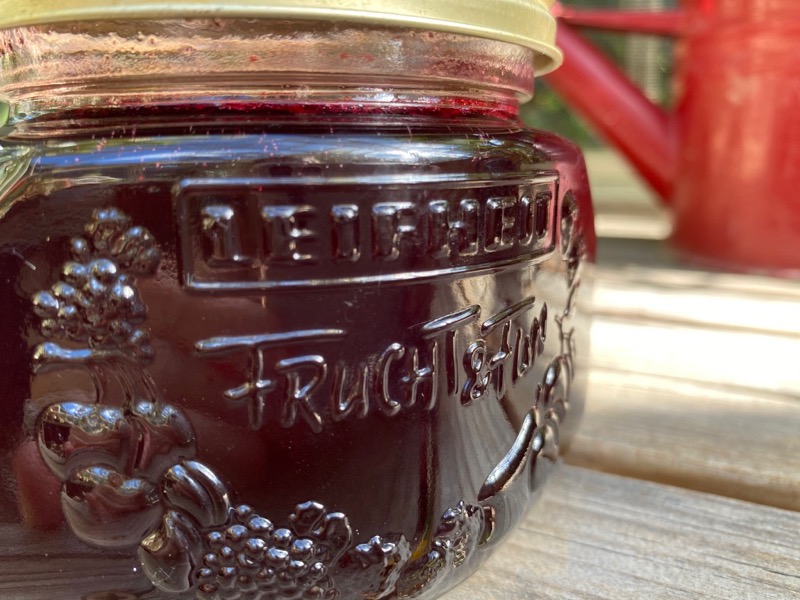
Blackcurrant Jelly (no bits)
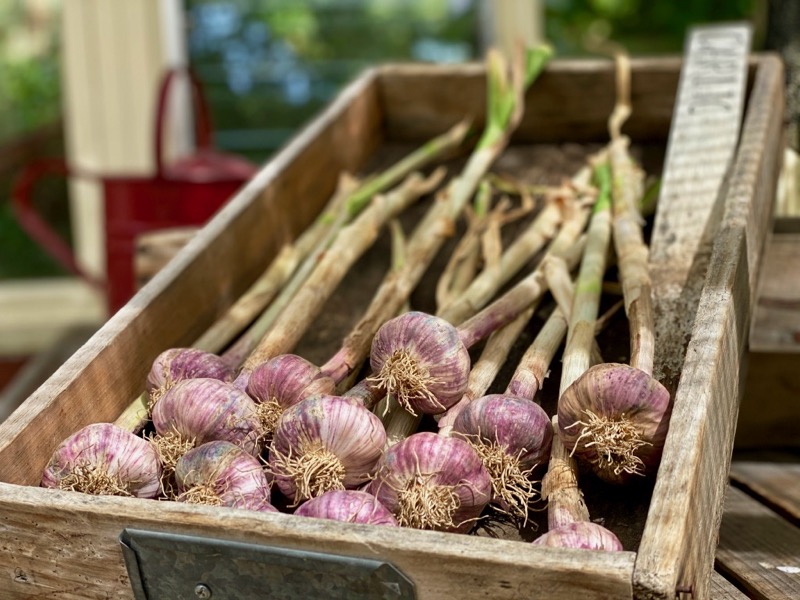
Garlic From Another Lifetime
Thinning My Apple Trees
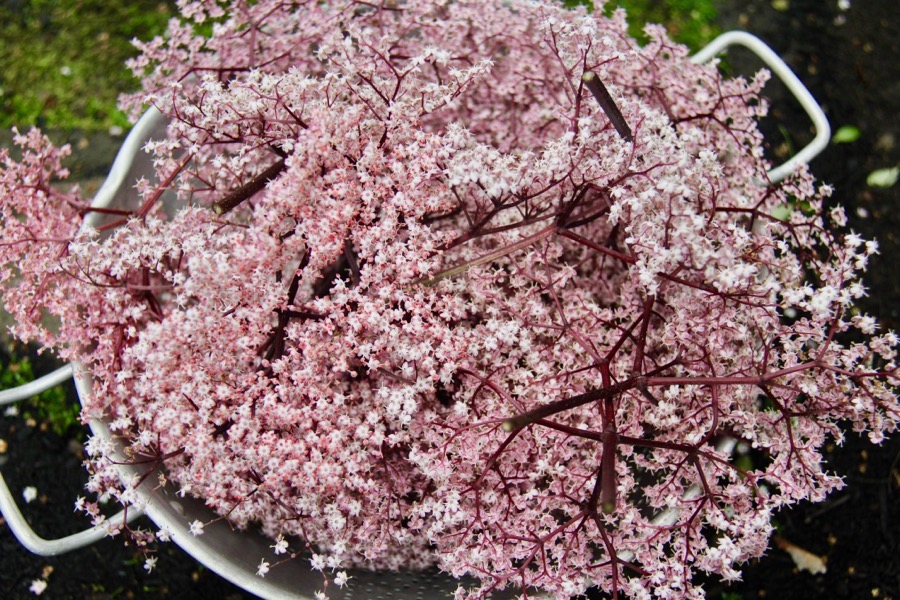
My Overdue Elderflower Cordial
1
2
3
…
88
»
 My Tiny Plot